Think you know everything there is to know about Adobe Photoshop?
Of course you don’t. It may not even be a stretch to say the people who invented it probably don’t even know all of its functions. It’s nearly impossible to keep track of them all, but that’s kind of the beauty of it. As the application keeps evolving, so does the breadth of the work that can be created using it.
So before you dive into your next project, whether you’re a newbie or seasoned Adobe vet just looking to expedite your editing process, here are ten lesser-known Photoshop tips and shortcuts you should incorporate into your workflow:
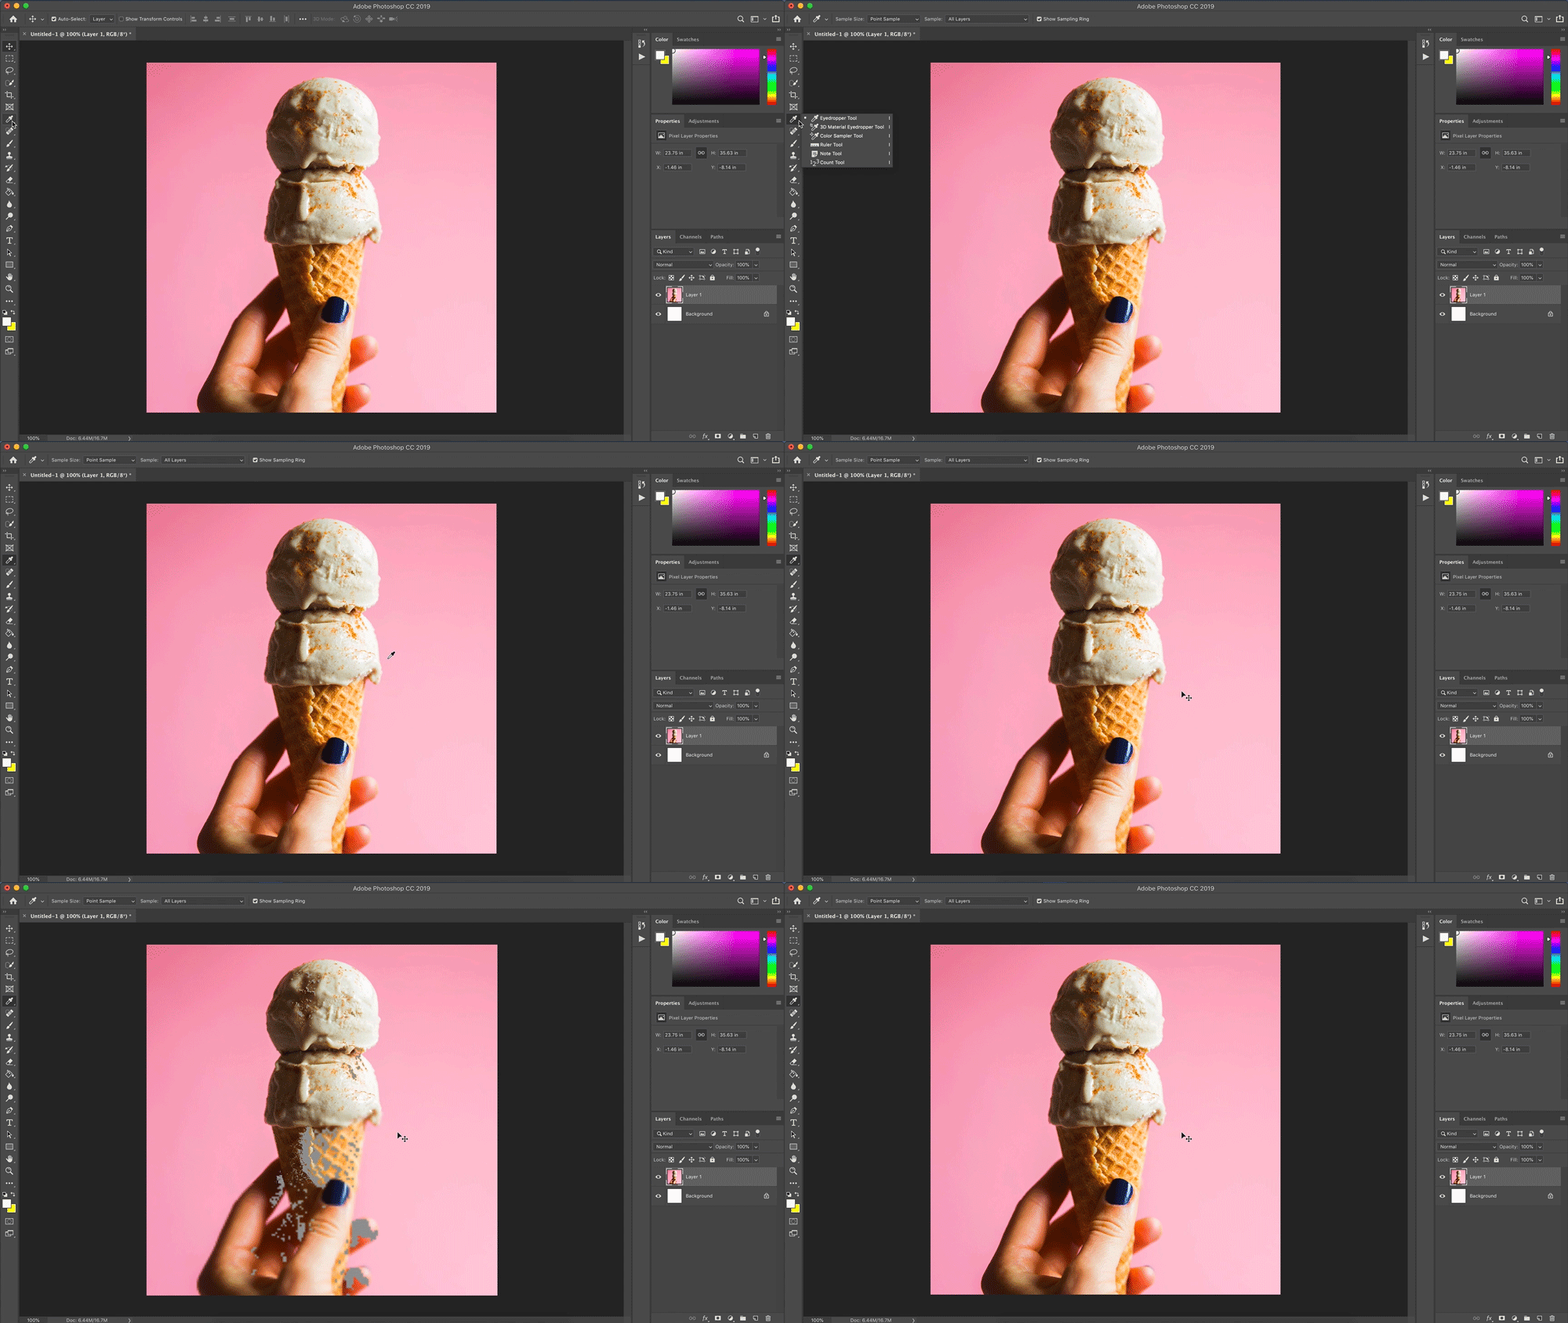
Work in RGB when you print in CMYK
Degree of Difficulty: 2/10
Degree of Helpfulness: 7/10
If you prefer working in RGB color mode, but need to turn in finals or print in CMYK, hit CMD/CNTRL+SHIFT+Y when the color picker is open. This will obscure the area of the spectrum that won’t print in CMYK in gray so you don’t have to go back and course correct later.
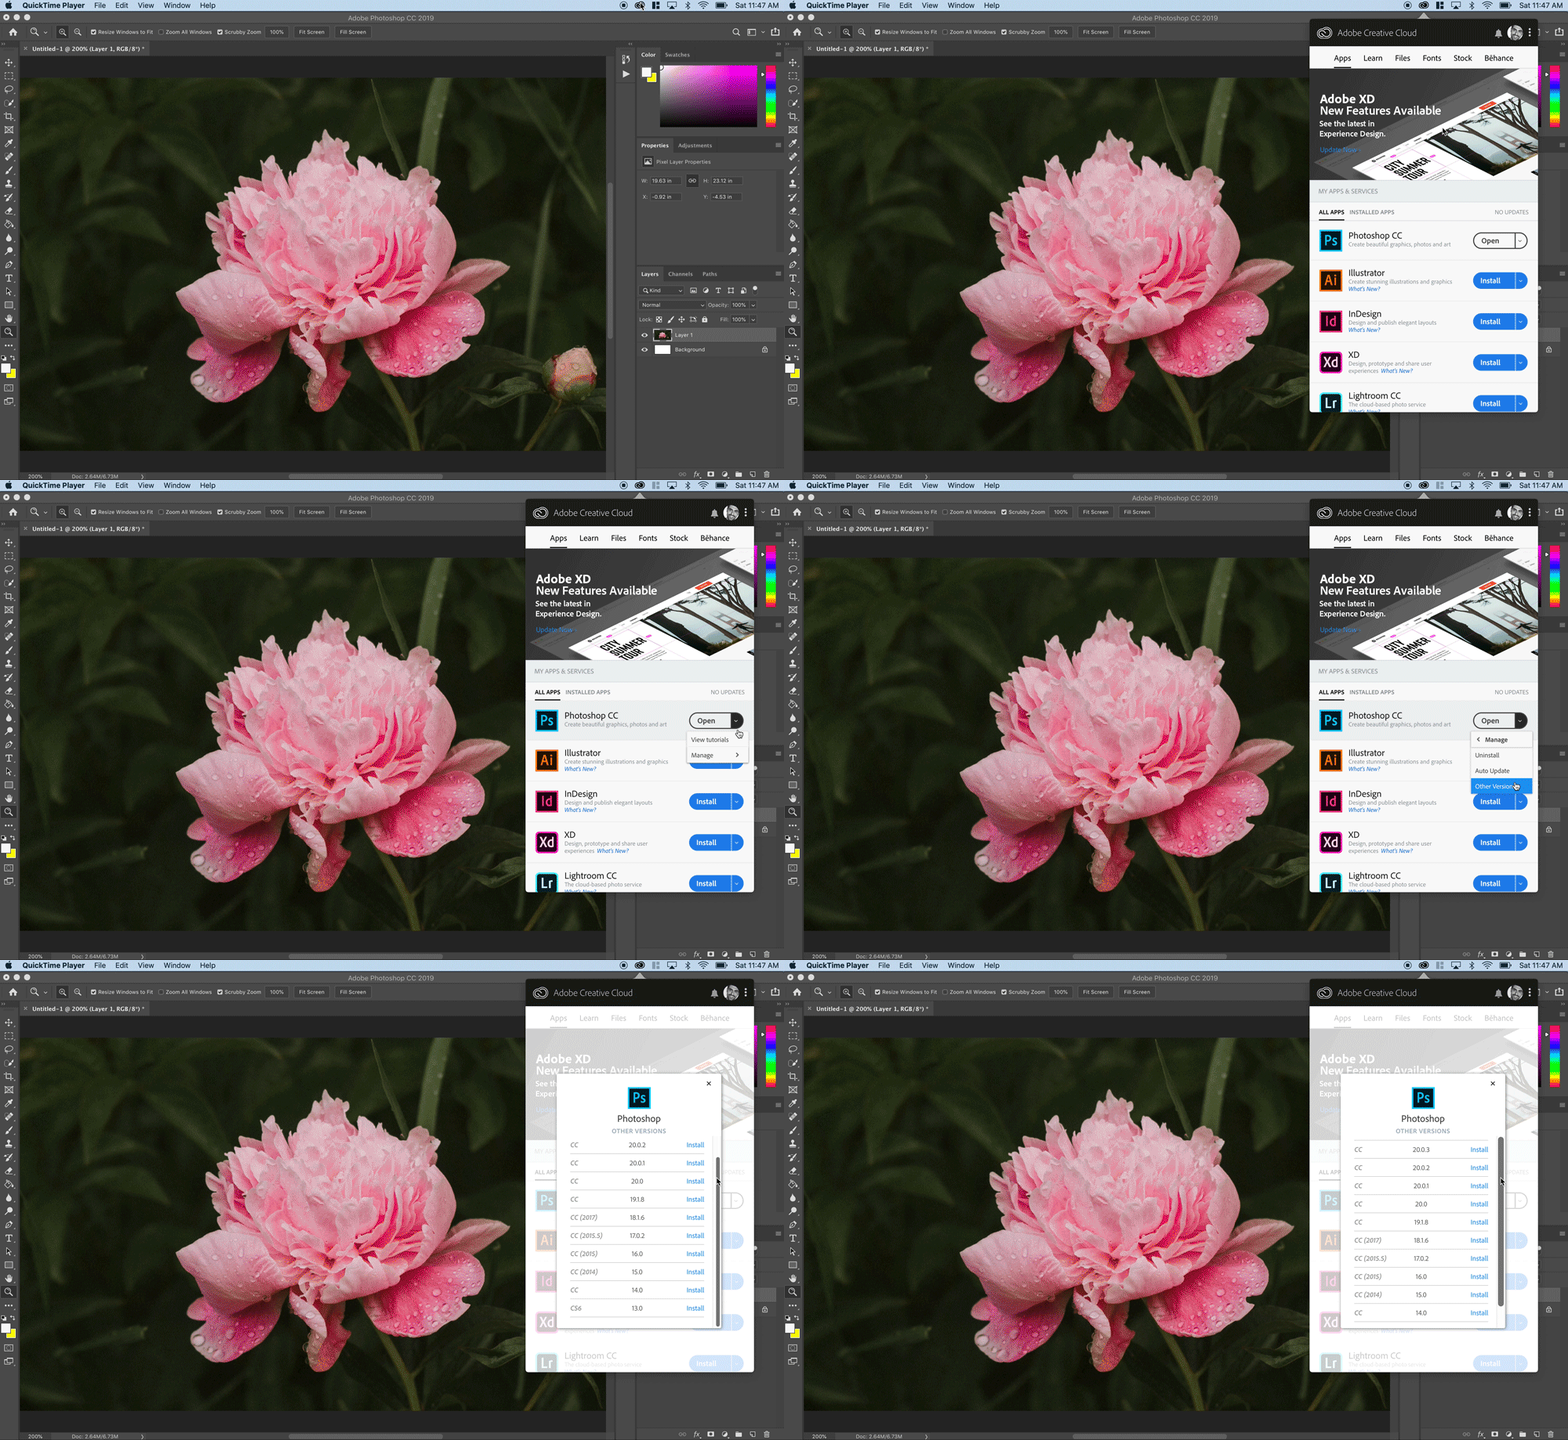
Access Previous Versions Of Photoshop
Degree of Difficulty: 2/10
Degree of Helpfulness: 8/10
Feeling nostalgic for a certain layout or how past tools used to work? You can actually run an earlier version of Photoshop in tandem with the latest update if you have a Creative Cloud subscription. Open up the Creative Cloud menu, scroll to Photoshop, and click the arrow on the right side of the button (which will either say Install or Open). In the drop down menu, click Manage and Other Versions. Then, find the past version you’d like, and click Install.
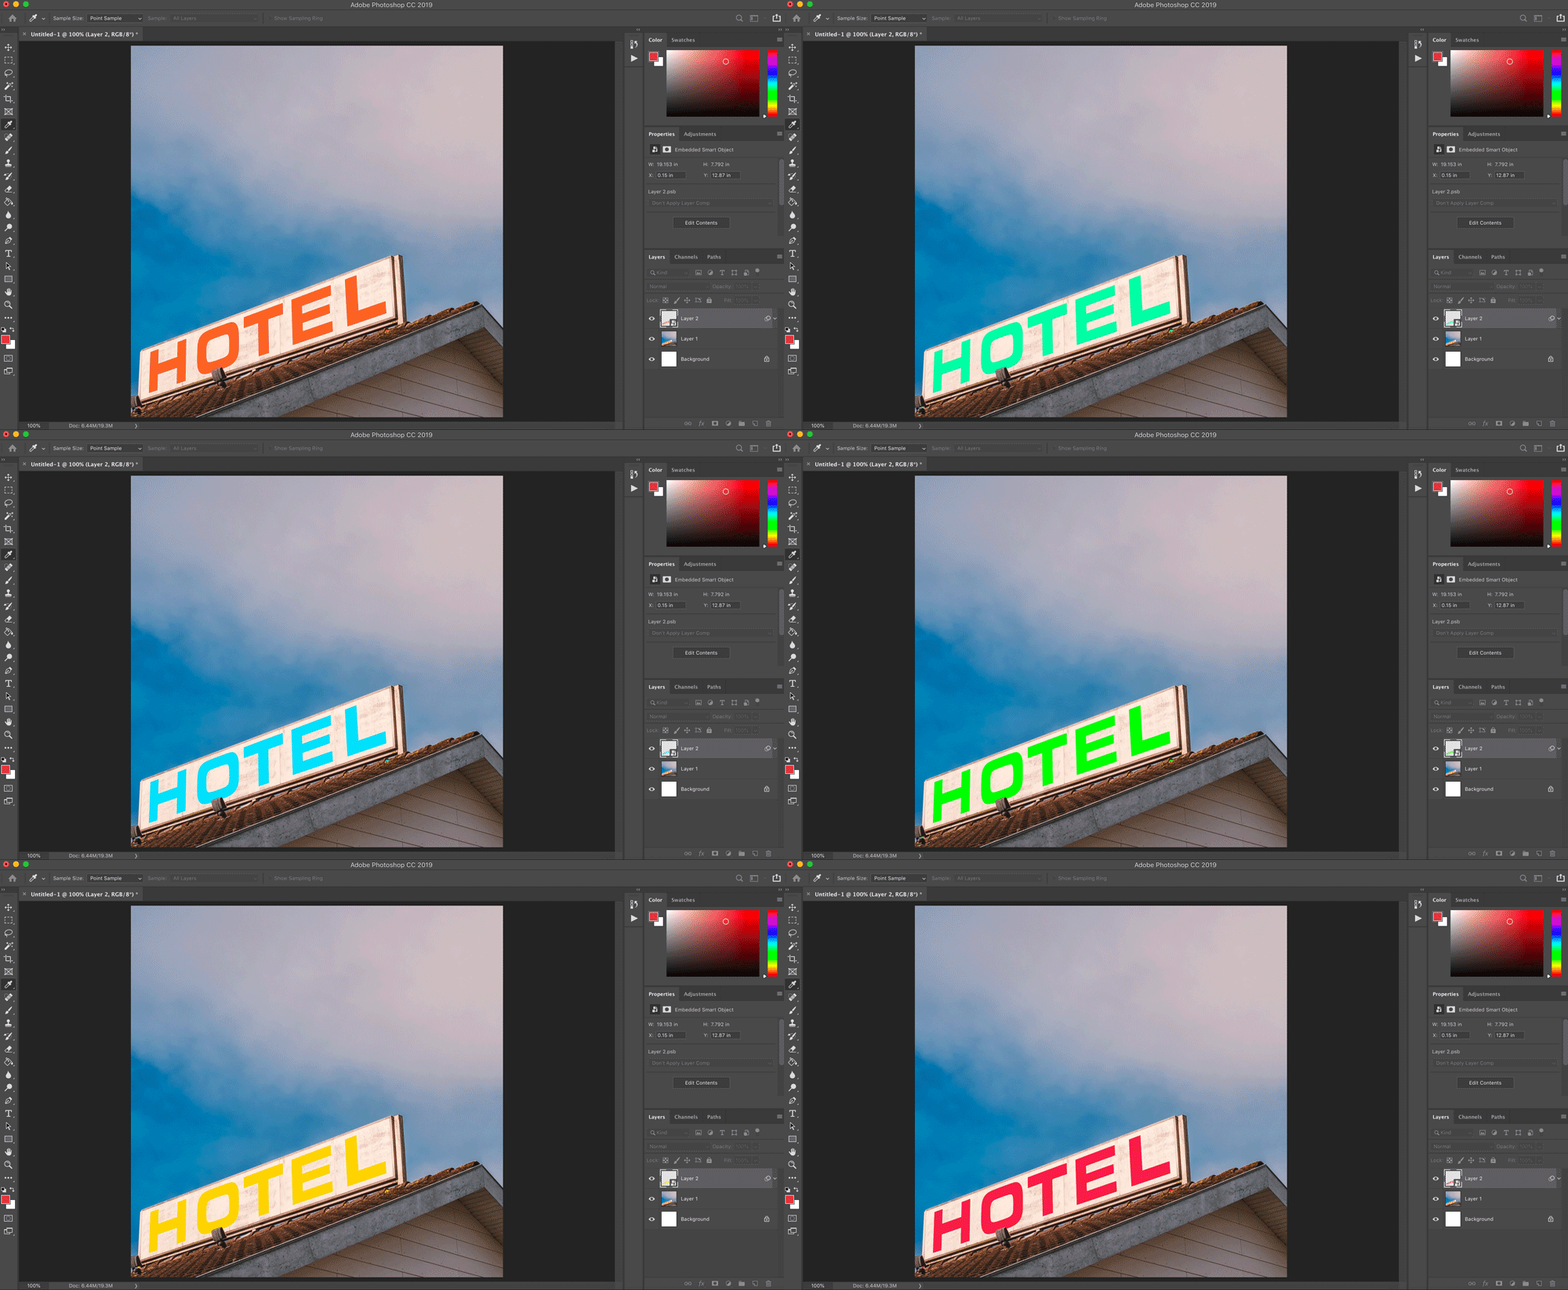
Use Smart Objects for Instant Color Modification
Degree of Difficulty: 4/10
Degree of Helpfulness: 9/10
If you’re designing something with a particular color palette that might need to be later updated across the board, there’s a simple way to manage it. Make a rectangle shape layer, fill it with a color, and convert it to a smart object. Use CMD/CNTRL + J to duplicate this smart object and clip it to objects across your design to color them in that particular color. If you at any point need to change the color of all those shapes, just double click the original smart object, change its color, and the other clipped objects will automatically update color to match.
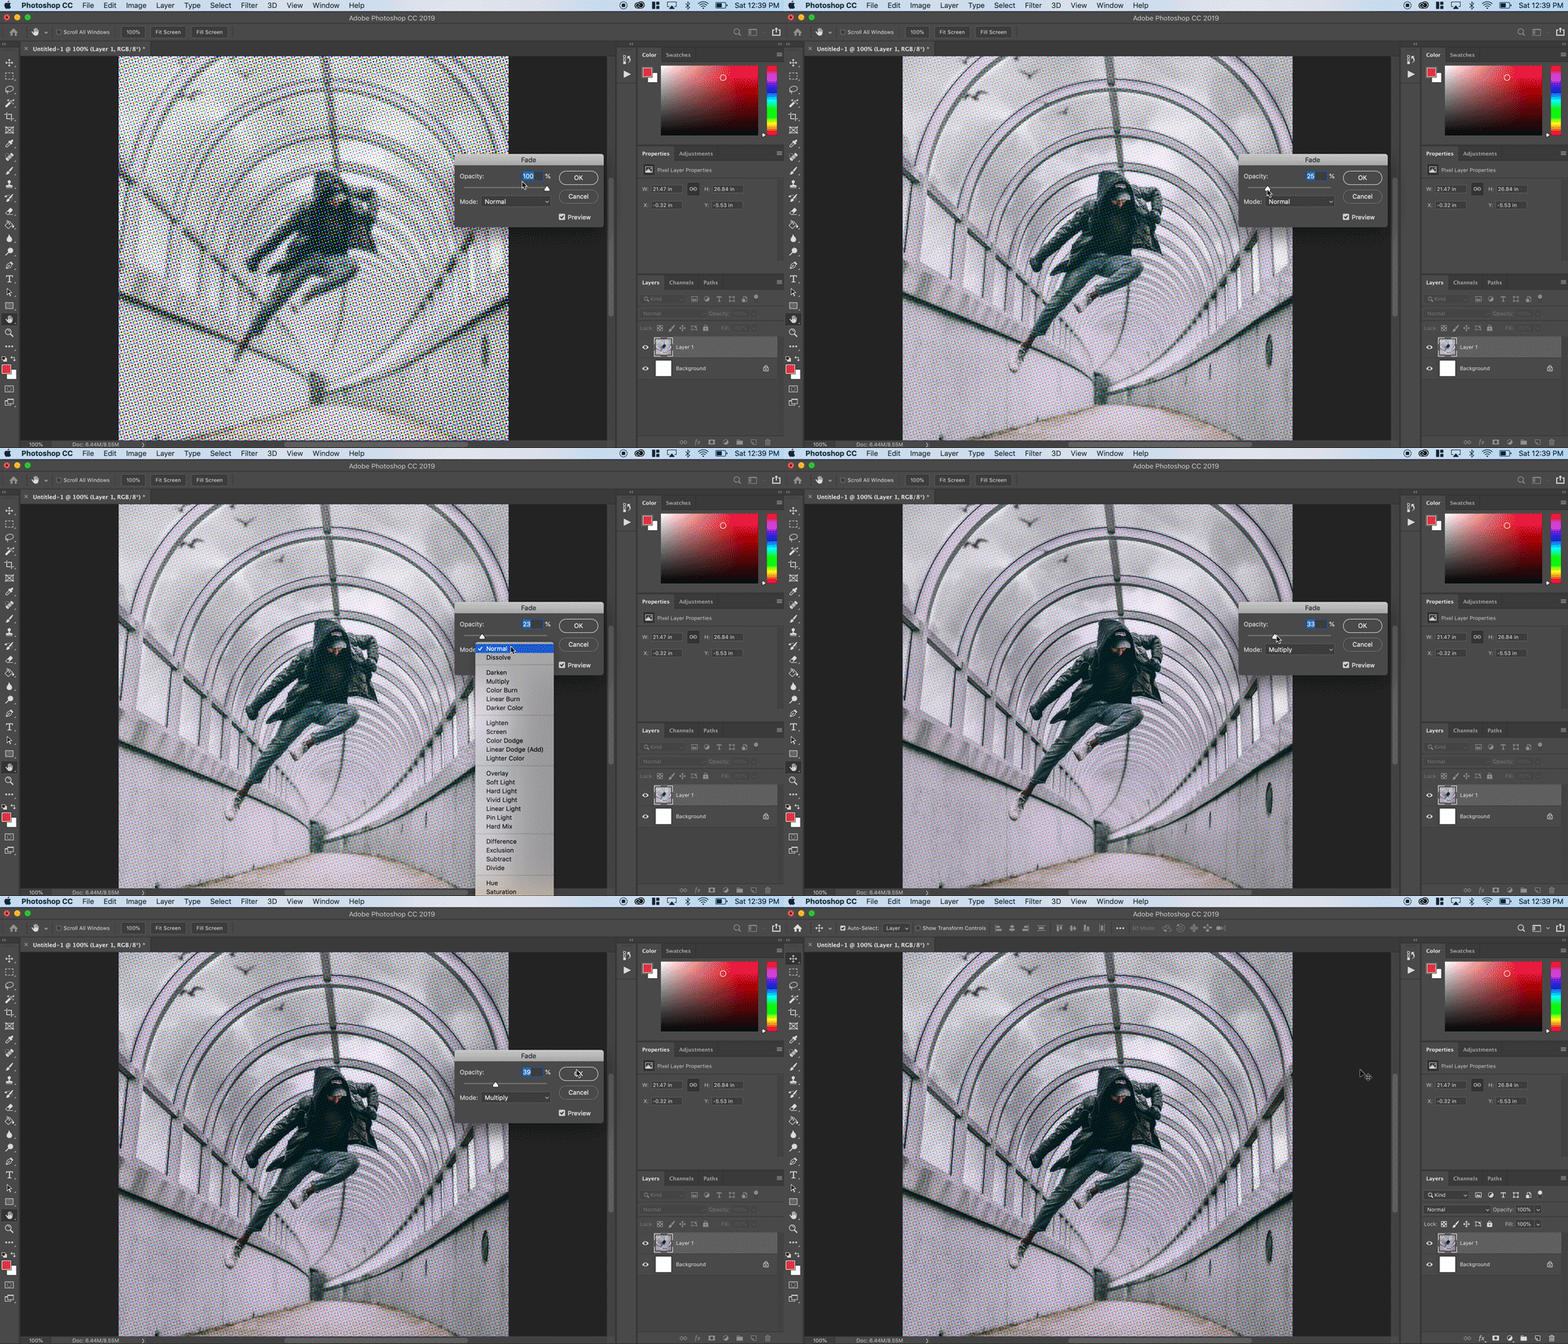
Maximize The Fade Tool
Degree of Difficulty: 3/10
Degree of Helpfulness: 6/10
The Fade feature allows you to reduce the opacity of the most recent filter applied to an image. Once you’ve applied the adjustment Choose Edit > Fade and drag the slider to adjust the opacity. From there you can choose a blending mode from the Mode menu.
Merge All Layers To Single Layer
Degree of Difficulty: 2/10
Degree of Helpfulness: 9/10
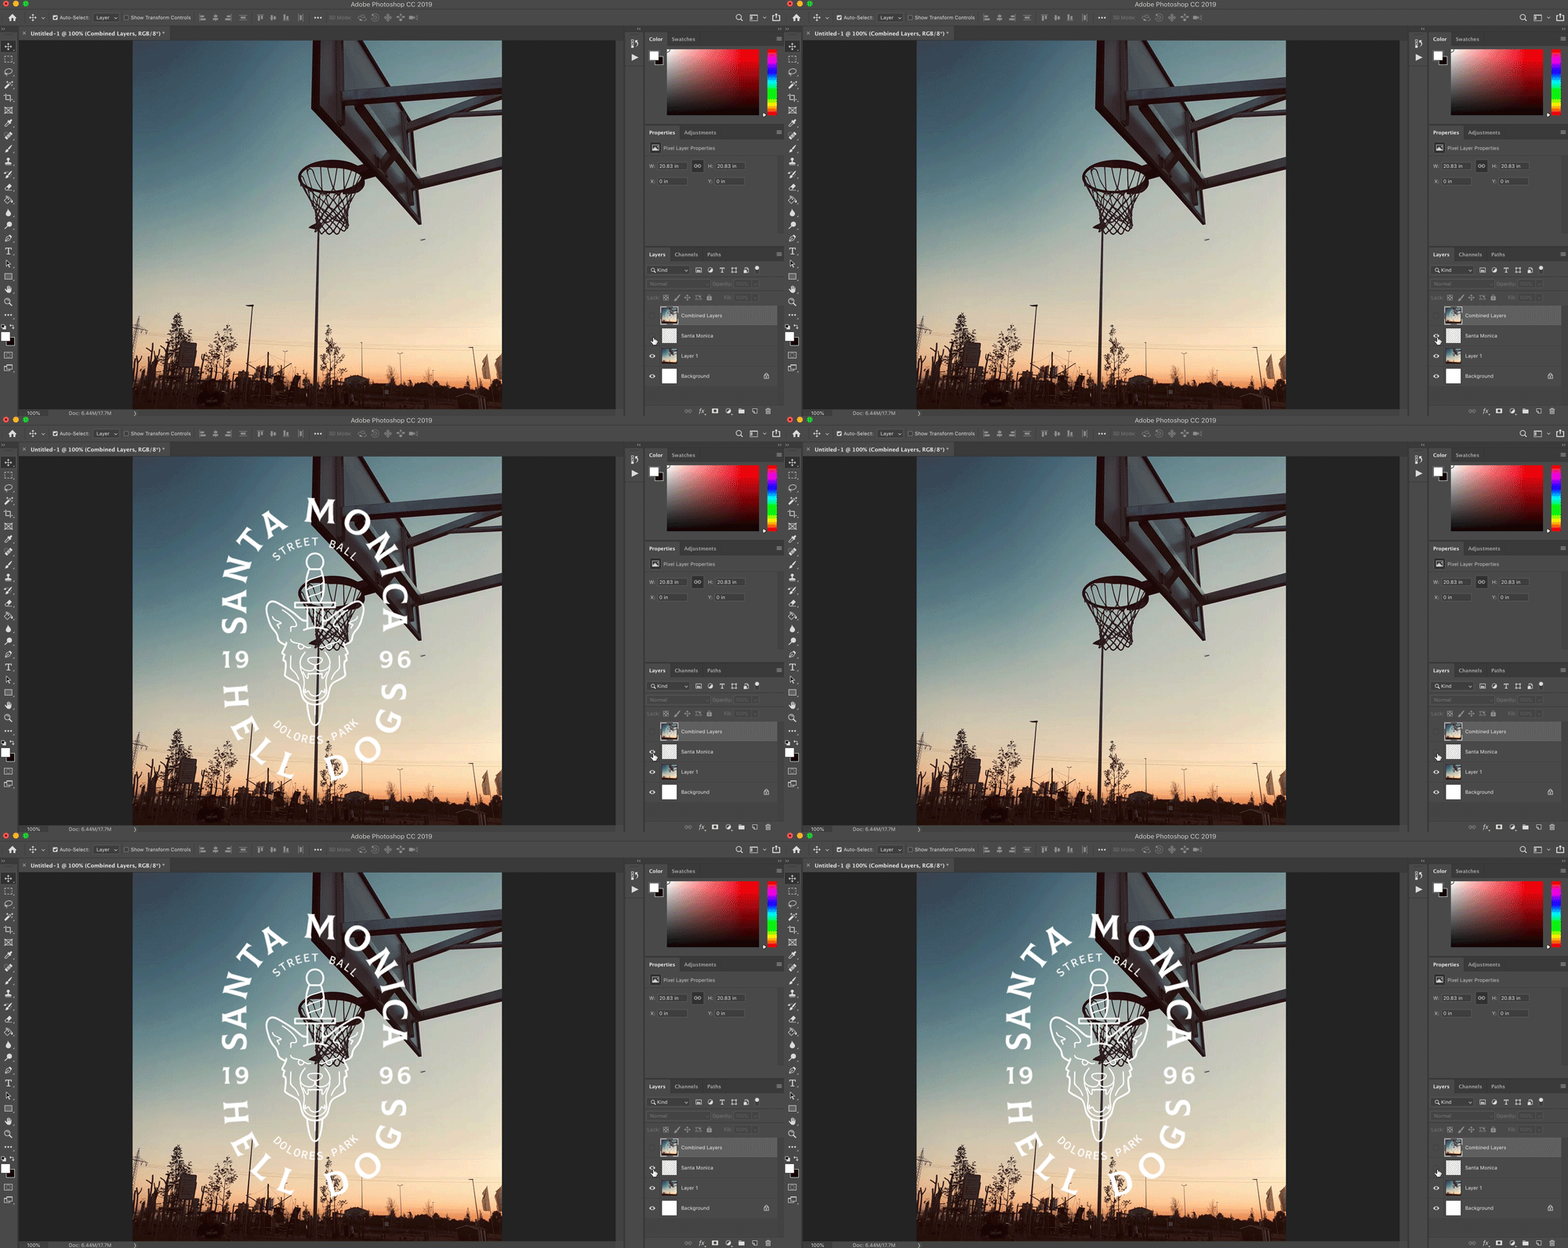
If you need to merge all visible layers into a new layer — and still retain your original layer structure — take note of this hotkey, because there is no menu feature in Photoshop that allows you to do this. Select the top layer to make it active, then hit CMD/CNTRL + SHIFT + ALT/OPT + E.
Preserve Transparency With An Auto Hotkey
Degree of Difficulty: 5/10
Degree of Helpfulness: 8/10
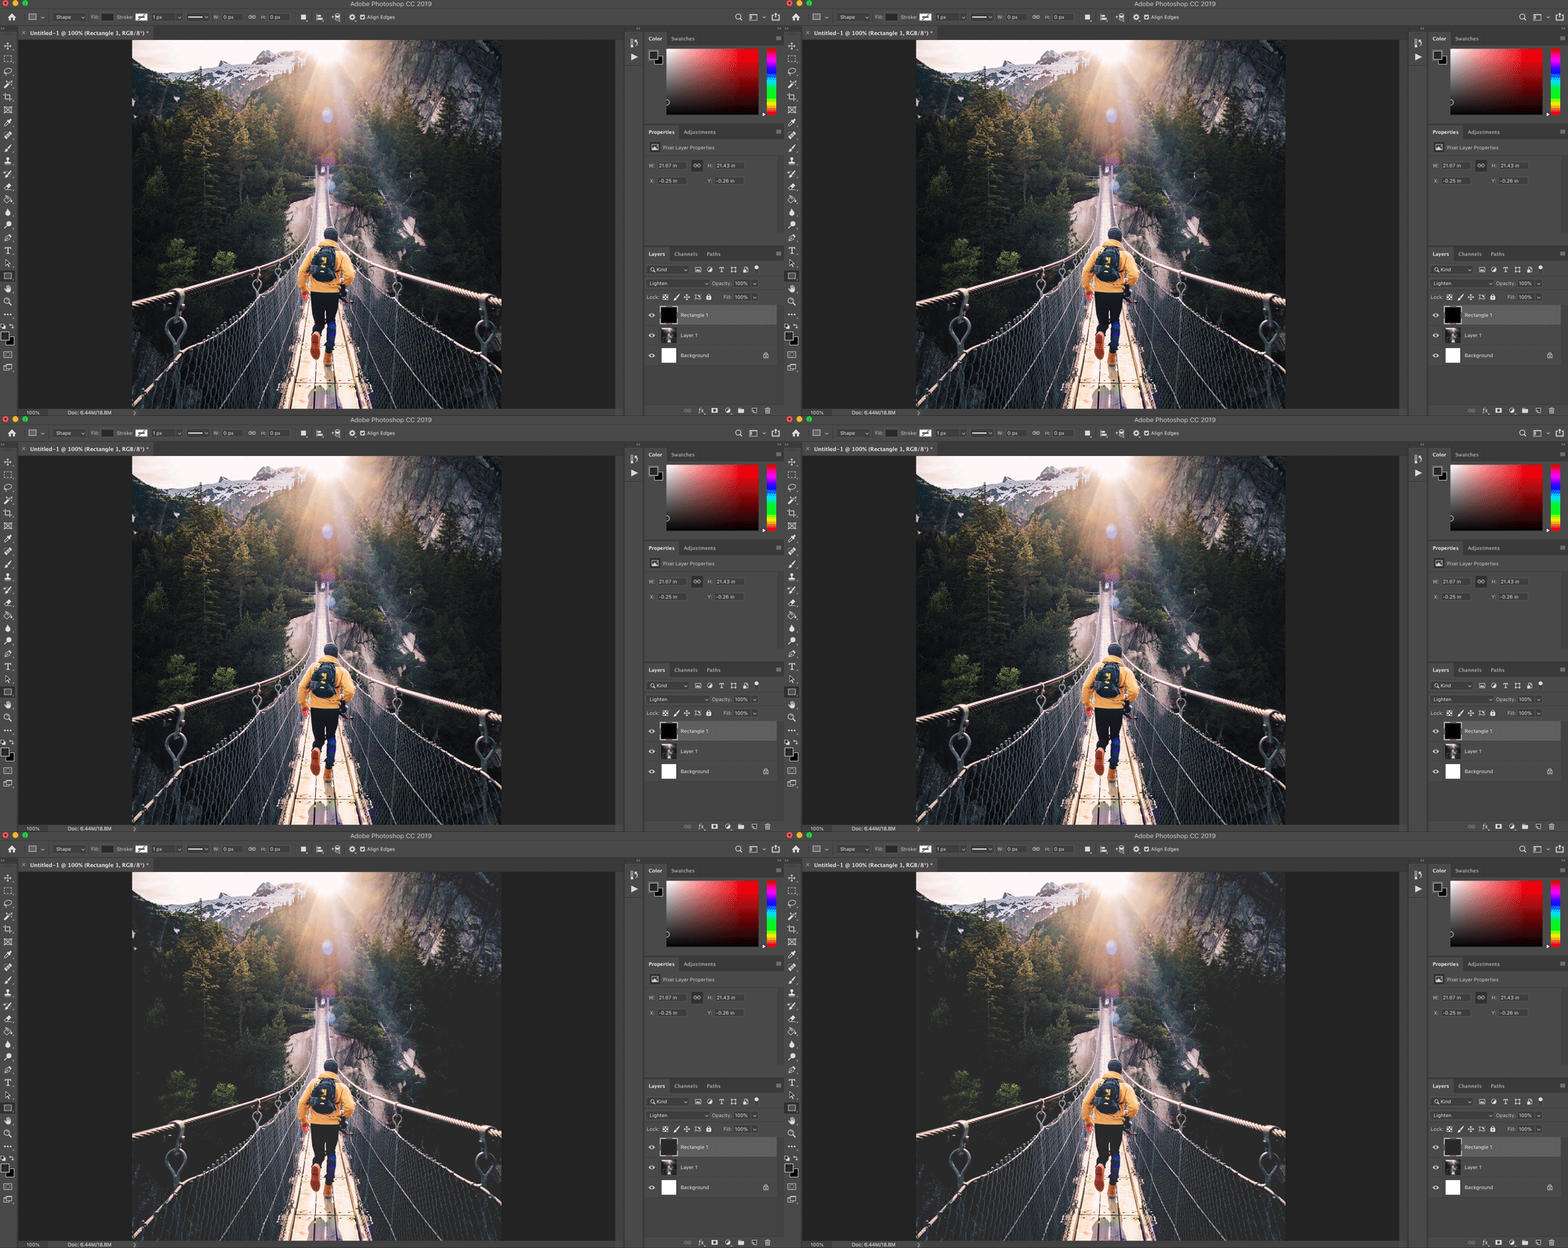
If you want to apply a color tint or effect to just one of your foreground layers, hit OPTION + SHIFT + DELETE after selecting an adjustment from the adjustments panel while the layer you’re editing is selected. This will isolate the effect to just the foreground layer, while preserving transparency.
Preview Adjustment Layers
Degree of Difficulty: 1/10
Degree of Helpfulness: 10/10
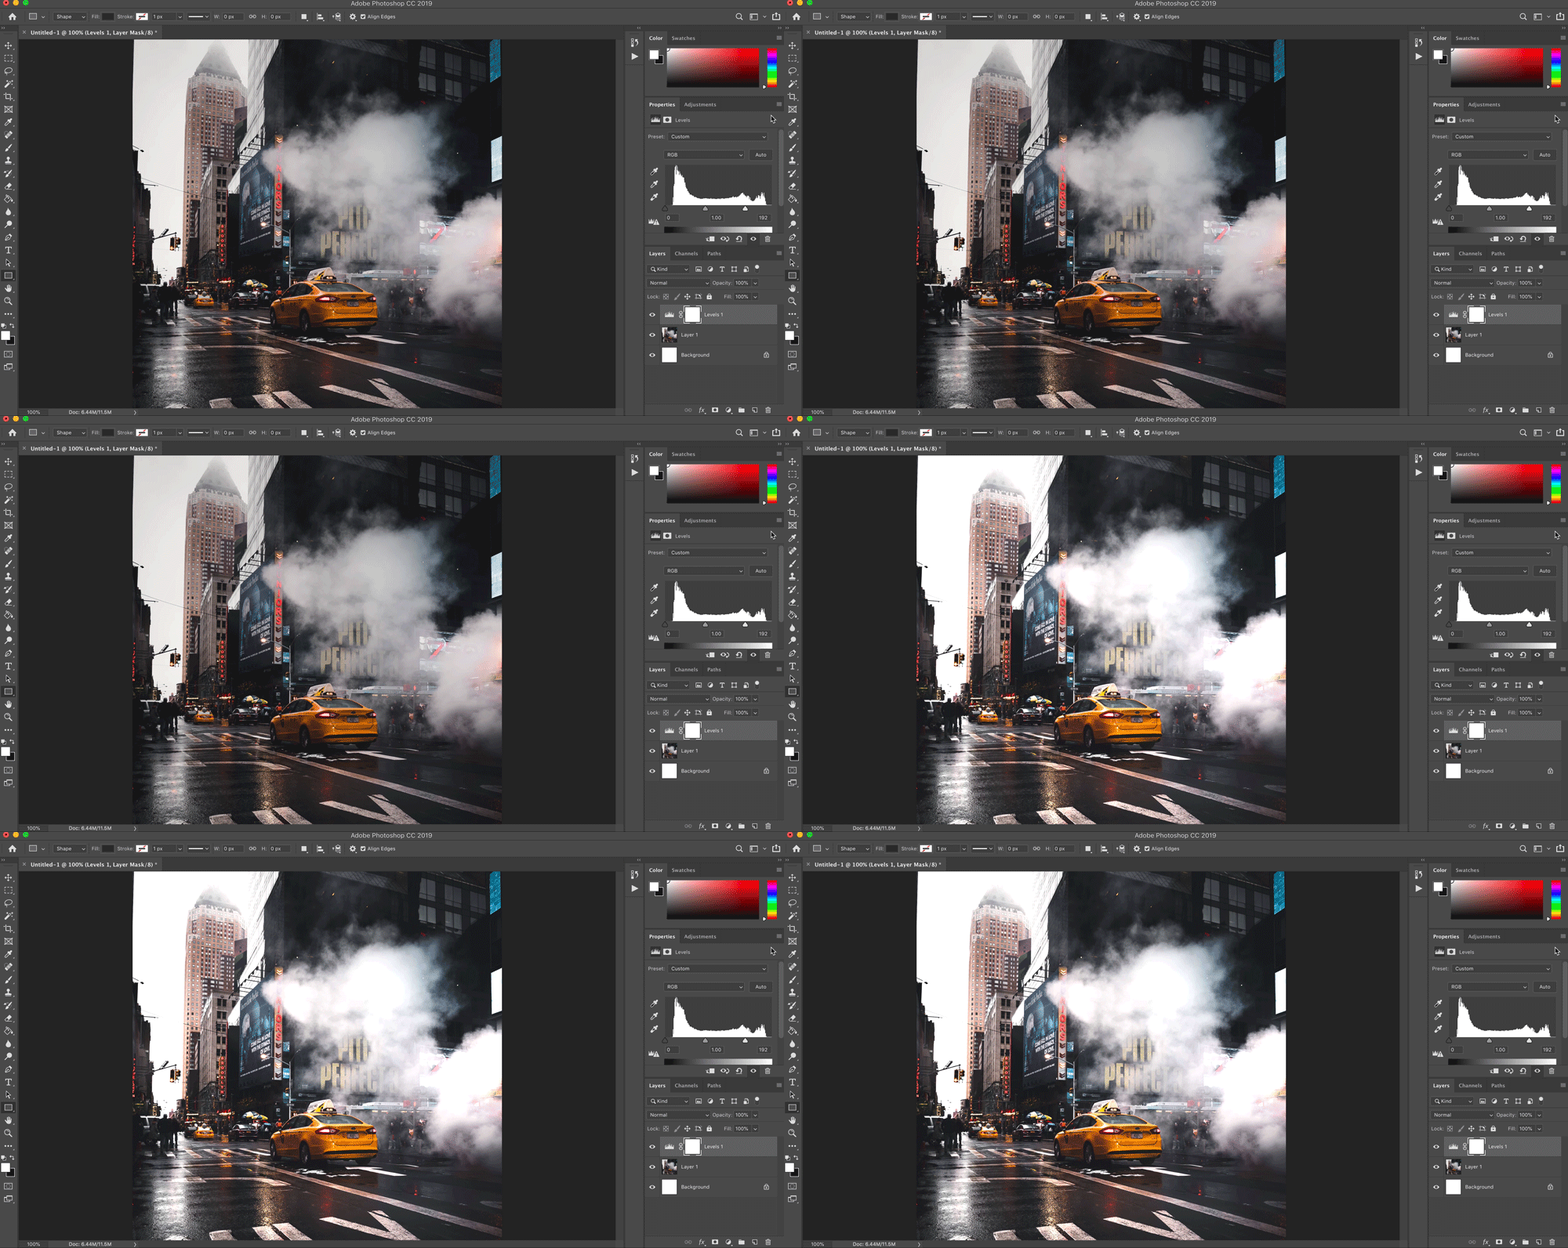
When editing an adjustment layer (like levels or curves) you can quickly see a ‘before and after’ by hitting the backslash () key.
Check Out The Brand New Curvature Pen Tool
Degree of Difficulty: 5/10
Degree of Helpfulness: 7/10
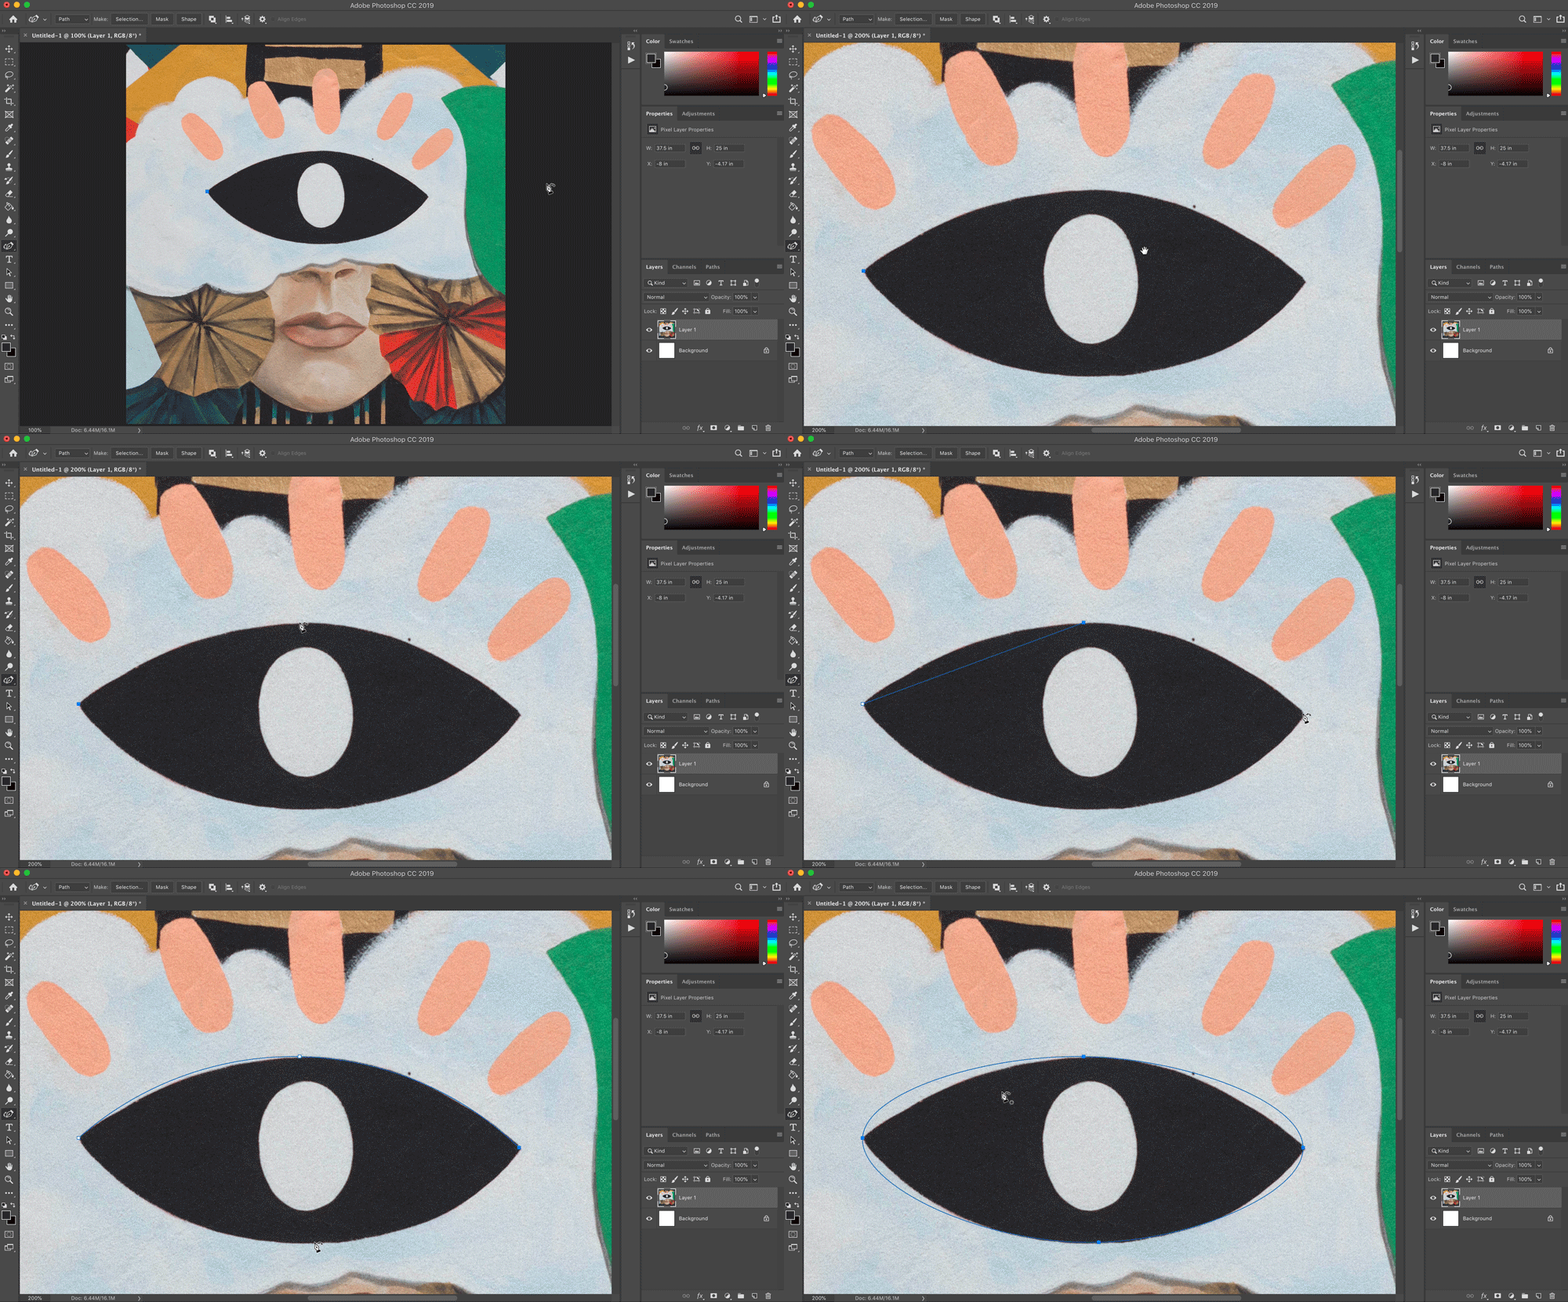
This pen is new to the most recent update of Photoshop CC, and it allows you to create different shapes without having to click and drag the pen. Instead, you can just click different control points in the shape of the curve. In the Pen toolbar, select the Curvature Pen tool and start making your vector shape. Click once to create your first point, and trace around your desired curved shape, clicking once each time to place a point. Click and drag a point to move it, and click to add extra points for more detailed control over the curve. To switch between straight lines and curves, just double-click a point you’ve already made to switch.
Undo Multiple Steps
Degree of Difficulty: 2/10
Degree of Helpfulness: 9/10
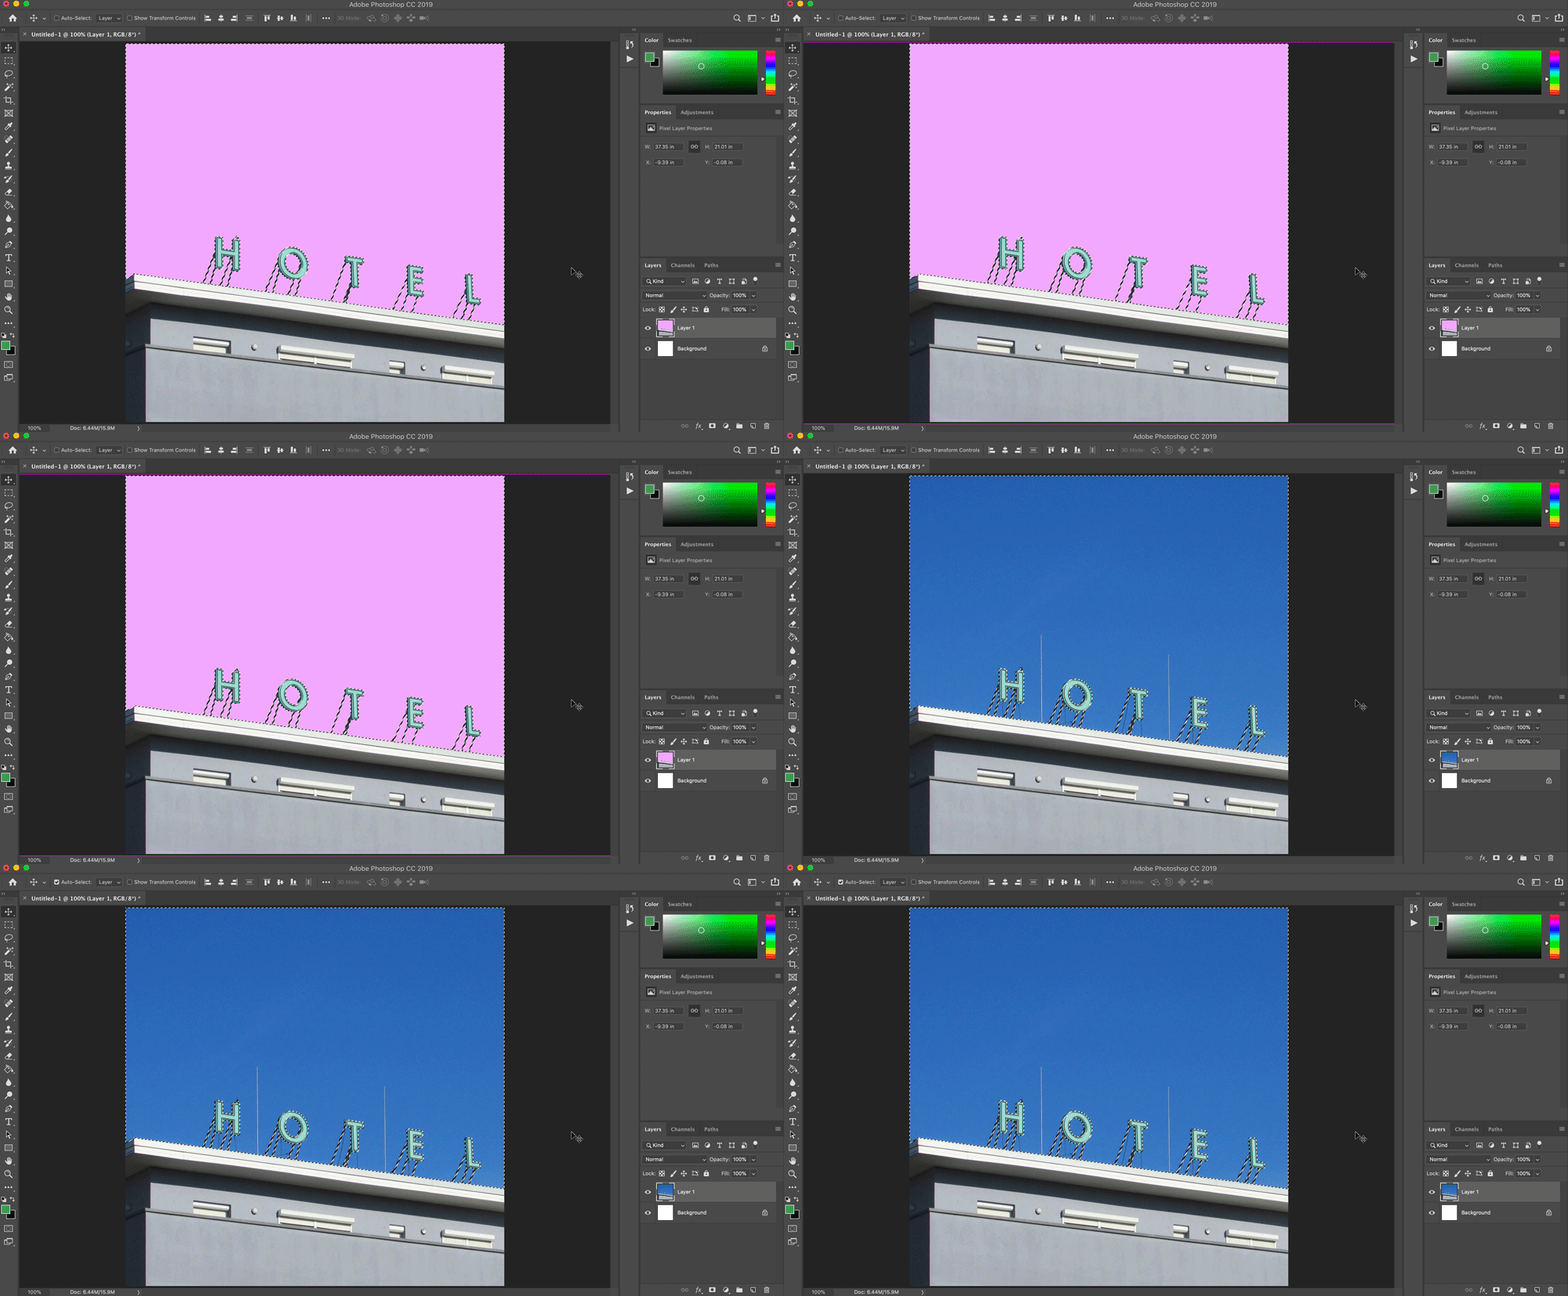
You probably already know that Command/Control + Z will undo your last step. But, need to step back even further? Hit CMD/CNTRL + ALT + Z to undo as many times as you’d like.
Master Perspective Warp
Degree of Difficulty: 7/10
Degree of Helpfulness: 8/10
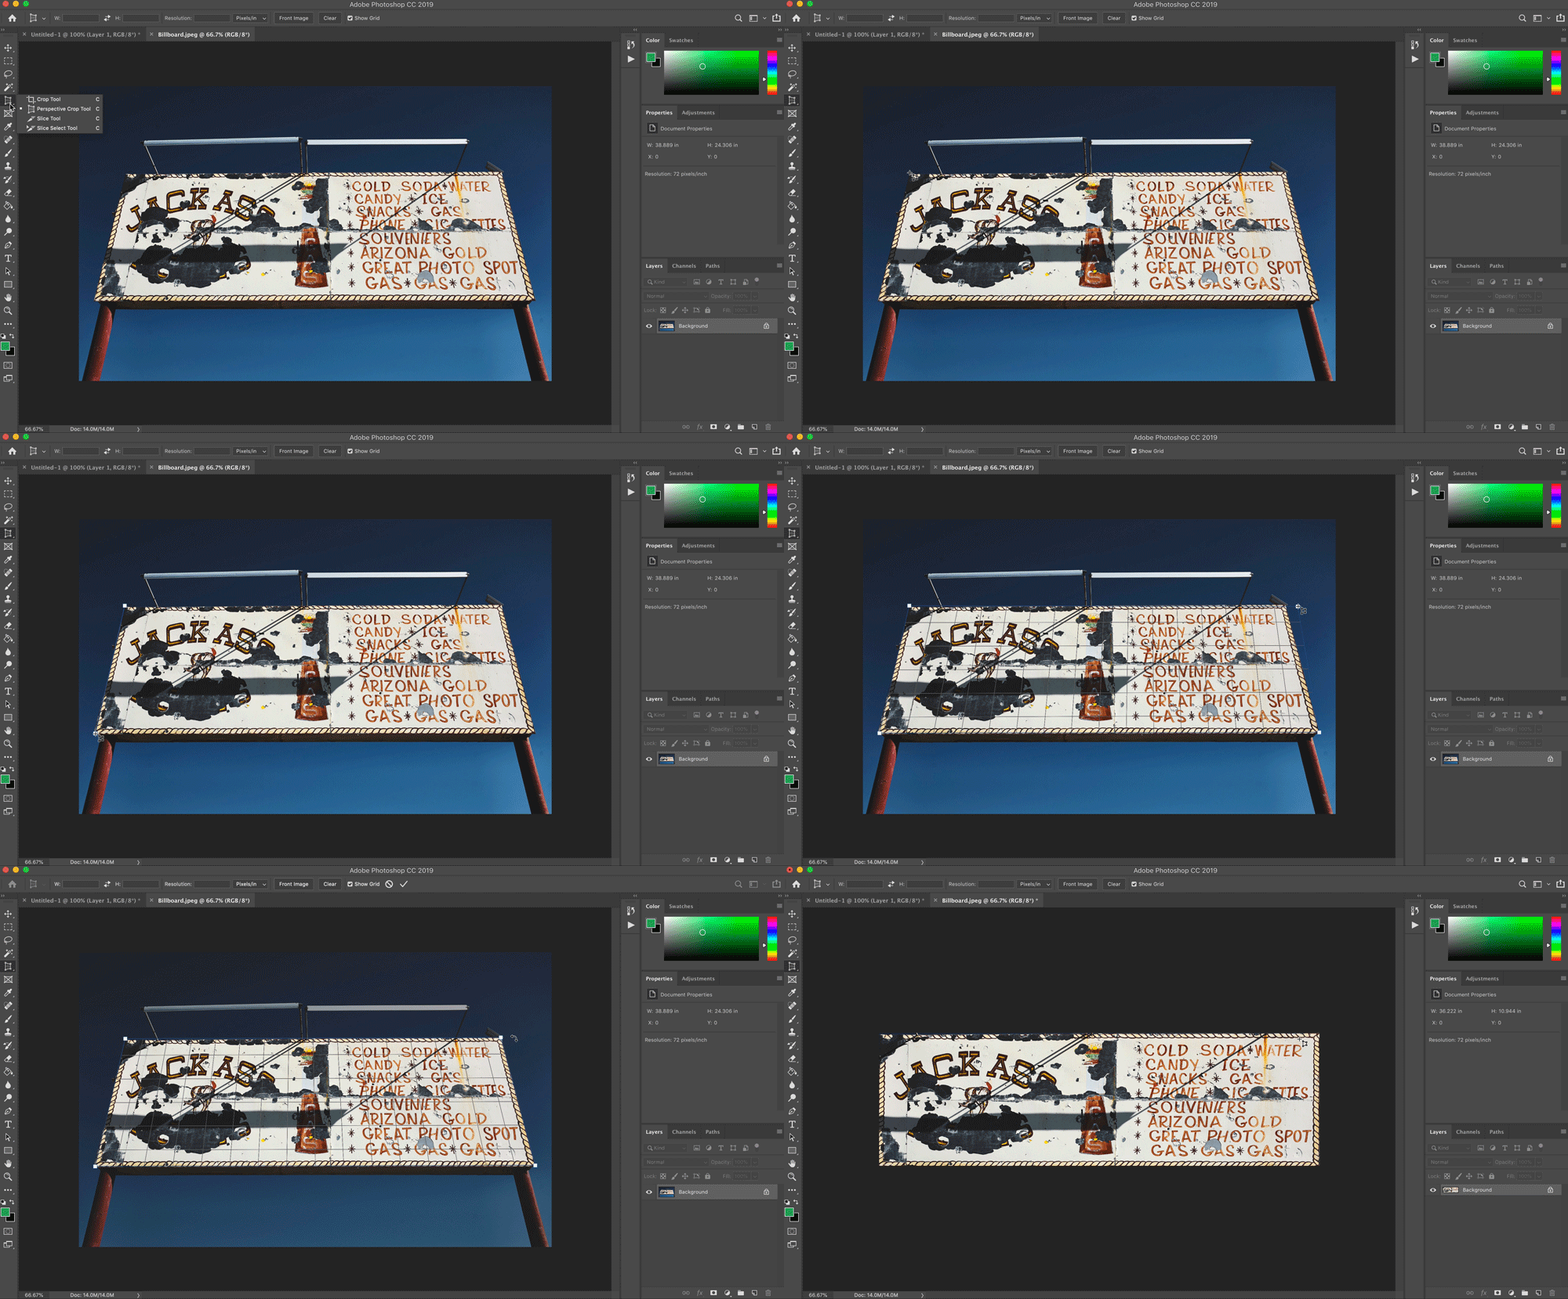
If your image appears warped or slightly out-of-proportion, go to Edit > Perspective Warp. Your cursor will change, so just click the image to bring up a grid that will help you define planes. Draw the quads around the area that needs fixing. Switch to the Warp mode from the Layout menu. Then you can manipulate the image in a few different ways — depending on what your image needs. Move around the pins in the corners of the image to make the image look more proportional.

